
Knowledge SuperBox S7
How to Connect SuperBox S7 to Wi-Fi 6: Step-by-Step Wireless Setup Guide





Connecting your SuperBox S7 (S7 Pro, S7 Max, S7 Ultra) to a high-speed Wi-Fi 6 wireless network takes less than two minutes and ensures seamless, buffer-free streaming of 6K @ 60fps live sports and VOD movies: equipped with built-in Dual-Band Wi-Fi 6 (2T2R) hardware and a 1000Mbps Gigabit Ethernet port, the SuperBox S7 automatically detects 802.11ax networks to deliver lower latency and higher bandwidth across multi-device homes.
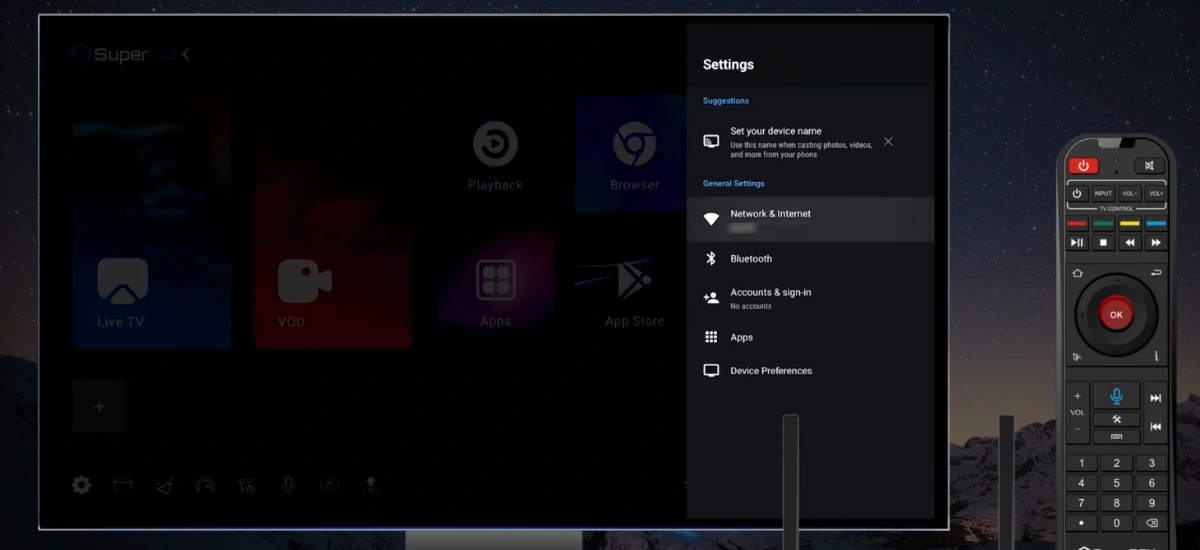
- 1. Open Settings: On the SuperBox S7 home screen, navigate to the Gear icon (Settings) and press OK.
- 2. Navigate to Network & Internet: Select “Network & Internet” and ensure the Wi-Fi toggle is switched On.
- 3. Choose Your 5GHz Wi-Fi 6 SSID: Select your home wireless network name (connecting to the 5GHz frequency band is strongly recommended for optimal 6K streaming speeds).
- 4. Enter Security Password: Enter your Wi-Fi password accurately using the on-screen keyboard and press Connect.
- 5. Alternative Wired Gigabit Setup: For maximum stability, plug a Cat6 Ethernet cable into the 1000M LAN port for instant plug-and-play connectivity without entering passwords.
Before You Begin
Before starting the setup, make sure you have the following:
- Your SuperBox S7 or SuperBox S7 Max connected to a TV.
- A powered-on WiFi router.
- Your WiFi network name (SSID).
- Your WiFi password.
- The SuperBox remote control.
If your router broadcasts separate 2.4 GHz and 5 GHz networks, select the one that best fits your home network configuration. If your router uses a single SSID for both bands, simply choose that network from the available list.
For full step-by-step display sizing and remote configuration, consult our primary guide on how to set up superbox.
Step 1: Open the Settings Menu
Turn on your SuperBox and wait until the home screen appears.
Using the remote control, navigate to the bottom of the home screen and locate the Settings icon, which is typically displayed as a gear or cog. Highlight the icon and press OK to open the device settings.
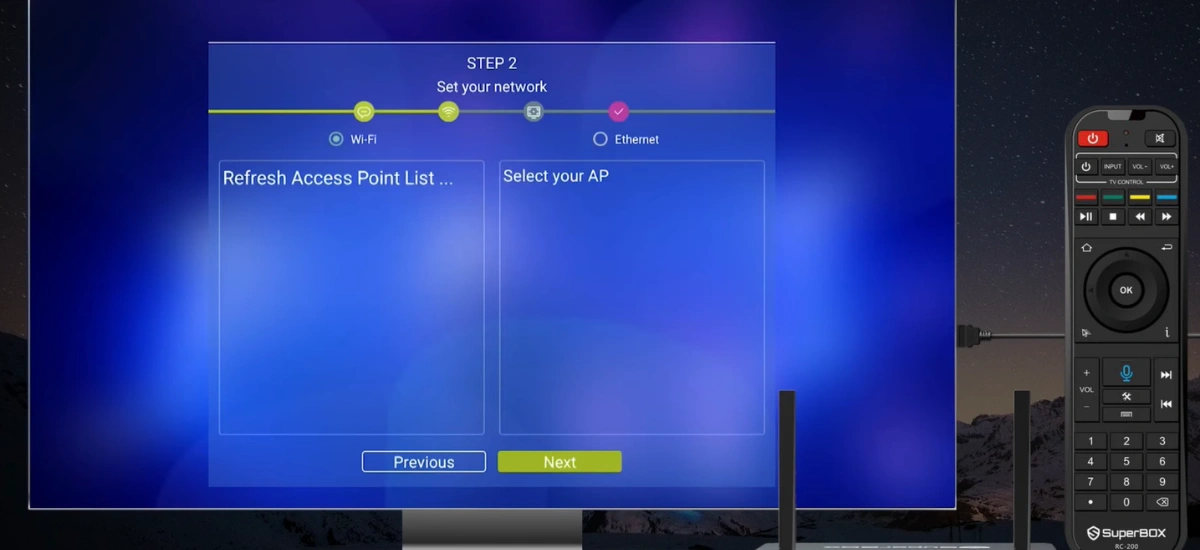
The Settings menu provides access to system options, including network configuration, display preferences, storage management, and other device settings.
Step 2: Open Network & Internet Settings
Inside the Settings menu, scroll until you find Network & Internet.
Select this option to open the network configuration page. Here you can manage both wireless and wired internet connections, view your current connection status, and switch between available networks if needed.
Step 3: Enable WiFi
If WiFi is turned off, enable it by selecting the WiFi toggle.
Once WiFi is activated, the SuperBox automatically scans for nearby wireless networks. Depending on your environment, this process may take a few seconds while the available SSIDs are detected and displayed.
If your network does not appear immediately, wait briefly for the list to refresh.
Step 4: Select Your WiFi 6 Network
When the available networks appear, locate your home WiFi network and select it.
If your router supports WiFi 6, the connection procedure remains exactly the same as with previous WiFi standards. Simply highlight your network name (SSID) and press OK to continue.
If multiple networks have similar names, verify that you are selecting the correct SSID before entering your password.
Step 5: Enter Your WiFi Password
After selecting your network, an on-screen keyboard will appear.
Use the remote control to carefully enter your wireless password. Since passwords are case-sensitive, pay close attention to uppercase letters, lowercase letters, numbers, and special characters.
After entering the password, choose Done, Connect, or the confirmation icon, depending on the software version displayed on your device.
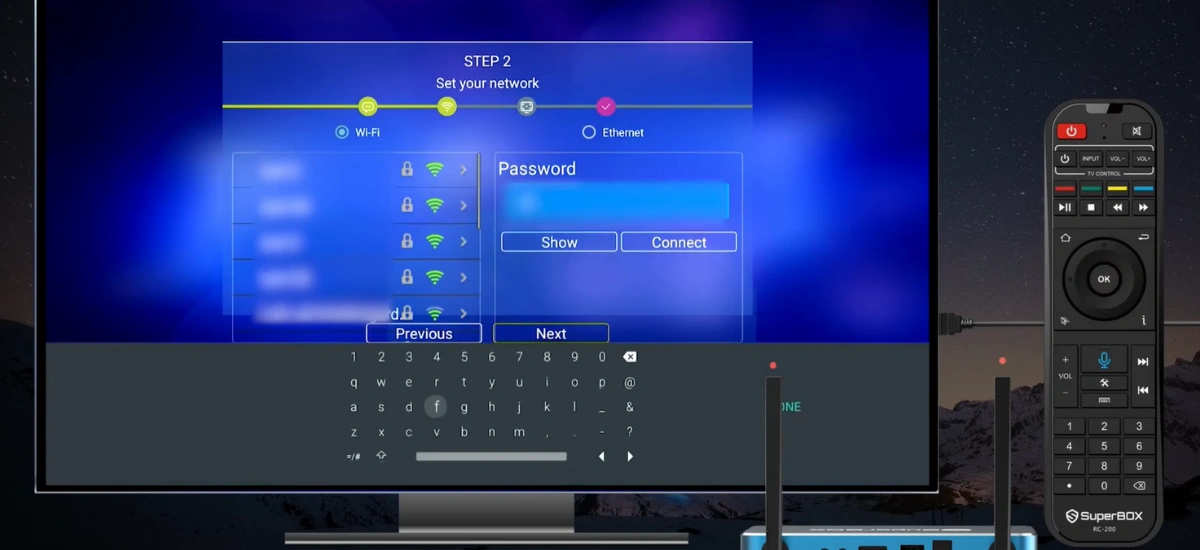
The SuperBox will then attempt to authenticate with your wireless network.
Step 6: Confirm the Connection
Once authentication is complete, the device will display a Connected status if the connection is successful.
You should also see the network indicator showing that the SuperBox is connected to the internet. At this point, your device is ready to use network-based features available through your home internet connection.
If the connection is unsuccessful or drops frequently, verify your wireless password and inspect our guide on SuperBox Wi-Fi troubleshooting to resolve IP conflicts and antenna interference.
While Wi-Fi 6 delivers substantial wireless speed gains, physical Ethernet cabling completely eliminates wireless interference and latency spikes. If your device encounters network disconnection or IP address renewal failures, read our diagnostic walkthrough for SuperBox Ethernet connection issues to configure static IP settings.
Using a Wired Ethernet Connection
If your SuperBox is located close to your router, you may prefer using a wired Ethernet connection.
Simply connect one end of an Ethernet cable to your router and the other end to the Ethernet port on the back of the SuperBox.
In most cases, the device detects the wired connection automatically without requiring any additional configuration or password. Once connected, you can verify the network status by checking the network icon displayed on the screen.
A wired connection can be a practical option in areas where wireless signal strength is limited or where a more consistent network connection is preferred.
As smart homes adopt newer wireless standards, understanding how hardware antenna arrays handle high-bandwidth streaming becomes crucial. To see how current 2T2R Wi-Fi 6 stacks up against next-generation tri-band wireless networking, explore our analysis of SuperBox Wi-Fi 7 capabilities and streaming bandwidth.
Tips for a Reliable Wireless Connection
To help maintain a stable connection after setup, consider these general best practices:
- Place your router in a central location whenever possible.
- Keep the SuperBox within good wireless range of the router.
- Avoid physical obstructions that may weaken the WiFi signal.
- Ensure your router is powered on and functioning properly before connecting.
- If wireless performance is inconsistent, consider using an Ethernet cable for a direct wired connection.
A high-speed, stable wireless connection ensures consistent bitrate delivery and helps stop SuperBox S7 buffering during live 4K and 6K sports broadcasts. Following these steps makes it easy to connect your SuperBox S7 or SuperBox S7 Max to your home network. Whether you choose WiFi or Ethernet, a properly configured network connection allows your device to access online features quickly and reliably.
Our article is based on the following video:
The article was updated on:
